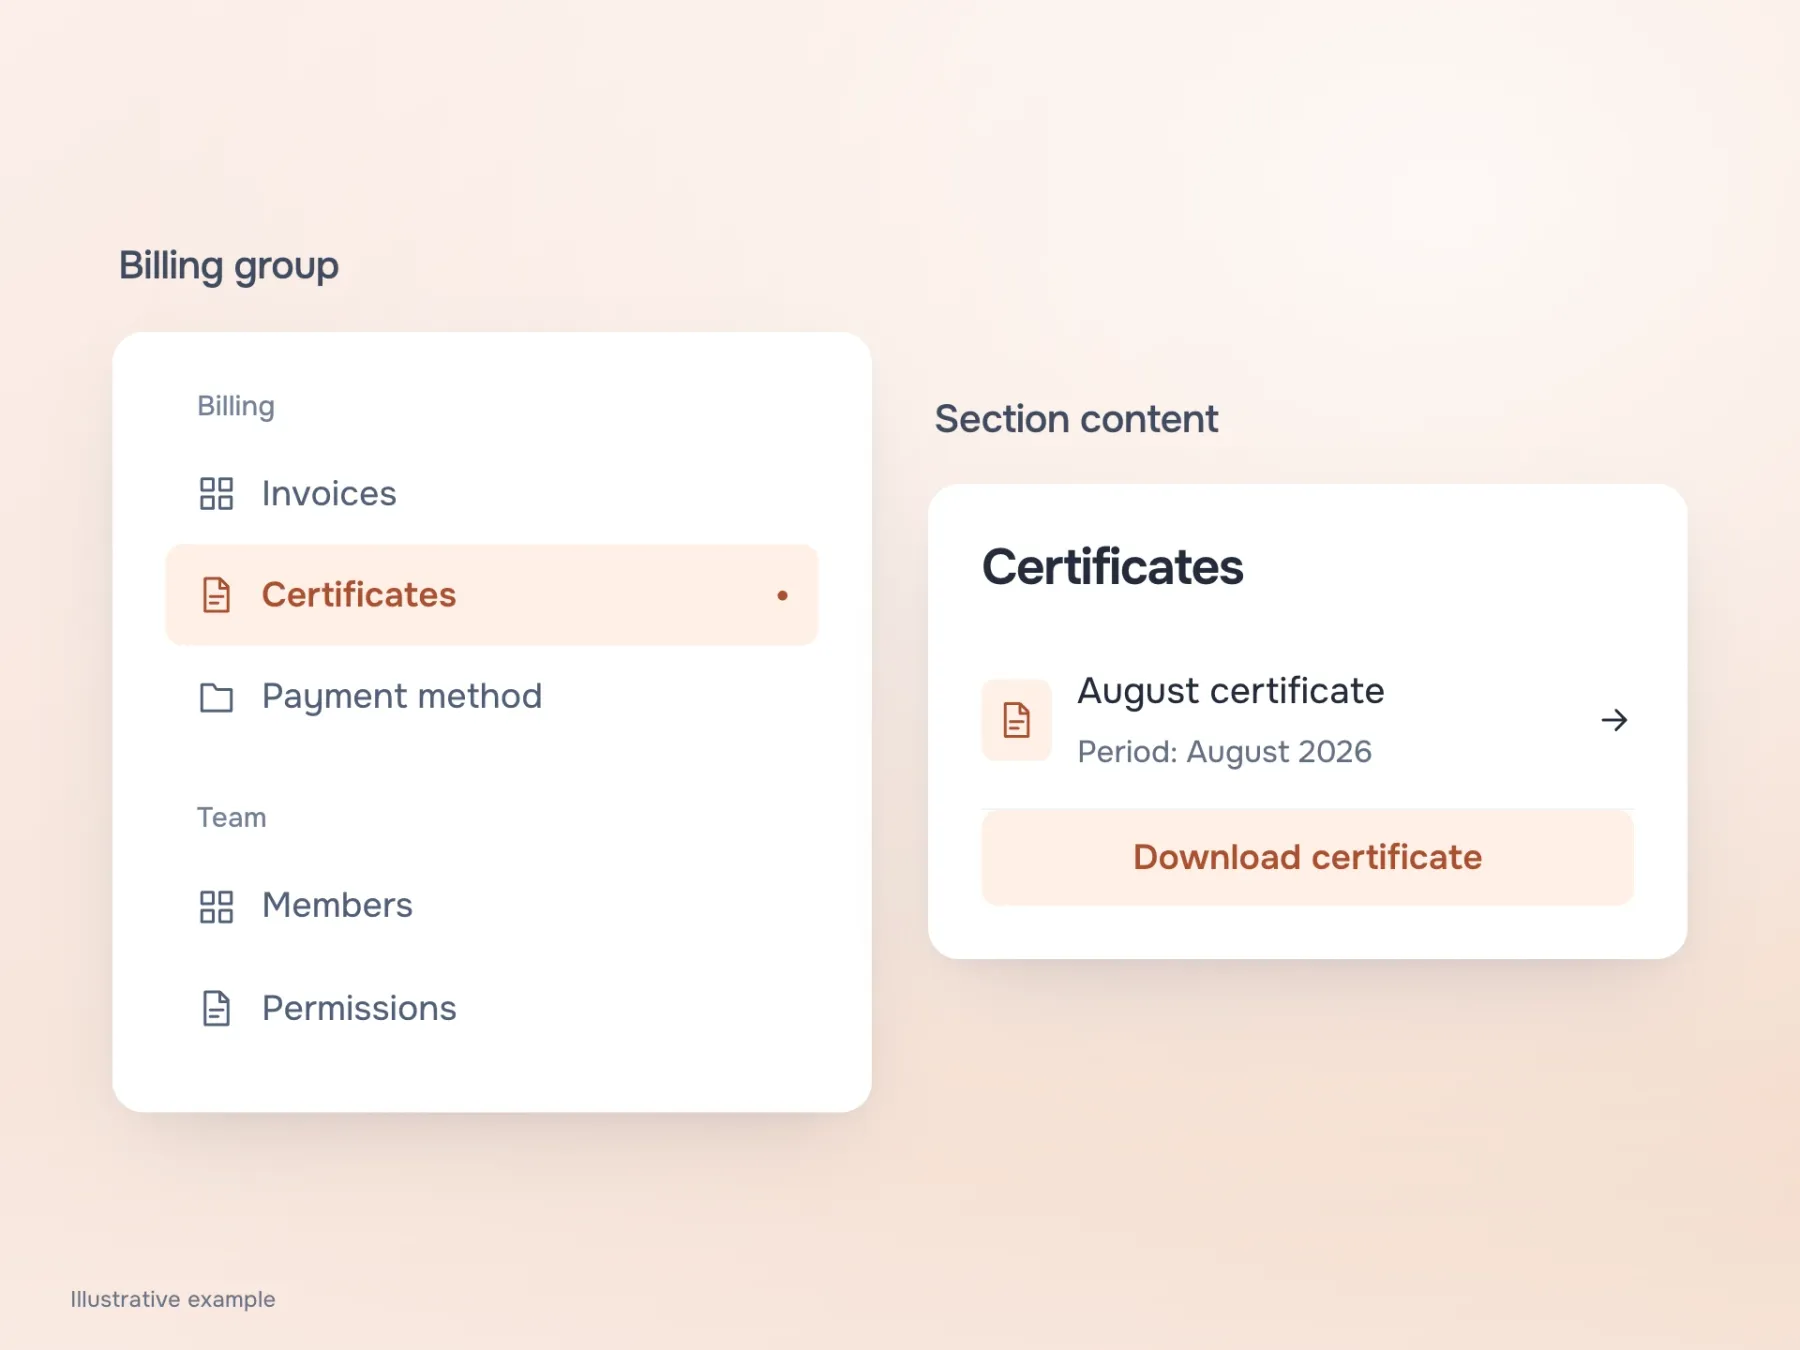
You need to download last month’s completion certificate. You open the workspace and see “Billing”, “Administration” and “Platform” in the menu. Starting with billing, you find invoices but no certificate. Could it be under documents? Now you need to work out which of the other two groups contains them.
The structure may feel natural to the team building the service. One department developed invoices, another documents, a third access management. The client does not know this history and should not have to. Let’s assemble a sample workspace for a small company so the route to the certificate starts with an understandable task, not a guess about the service’s organisation.
Start with why people come here
Write the actions in ordinary words: view an invoice, get a completion certificate, change a payment method, invite a colleague and set their access. Connections are already visible. Invoices and certificates relate to paying for the service; invitations and permissions relate to teamwork. We can try two groups, “Payments” and “Team”, instead of internal department names.
Each group now makes a promise. Opening “Payments”, someone expects everything related to paying for the service. If the certificate is indeed there, the structure helps without further explanation. This remains a working hypothesis for our workspace and needs testing with the people who will use the product. But it is easier to discuss: we know which task it is meant to support.
What if an item belongs in two places?
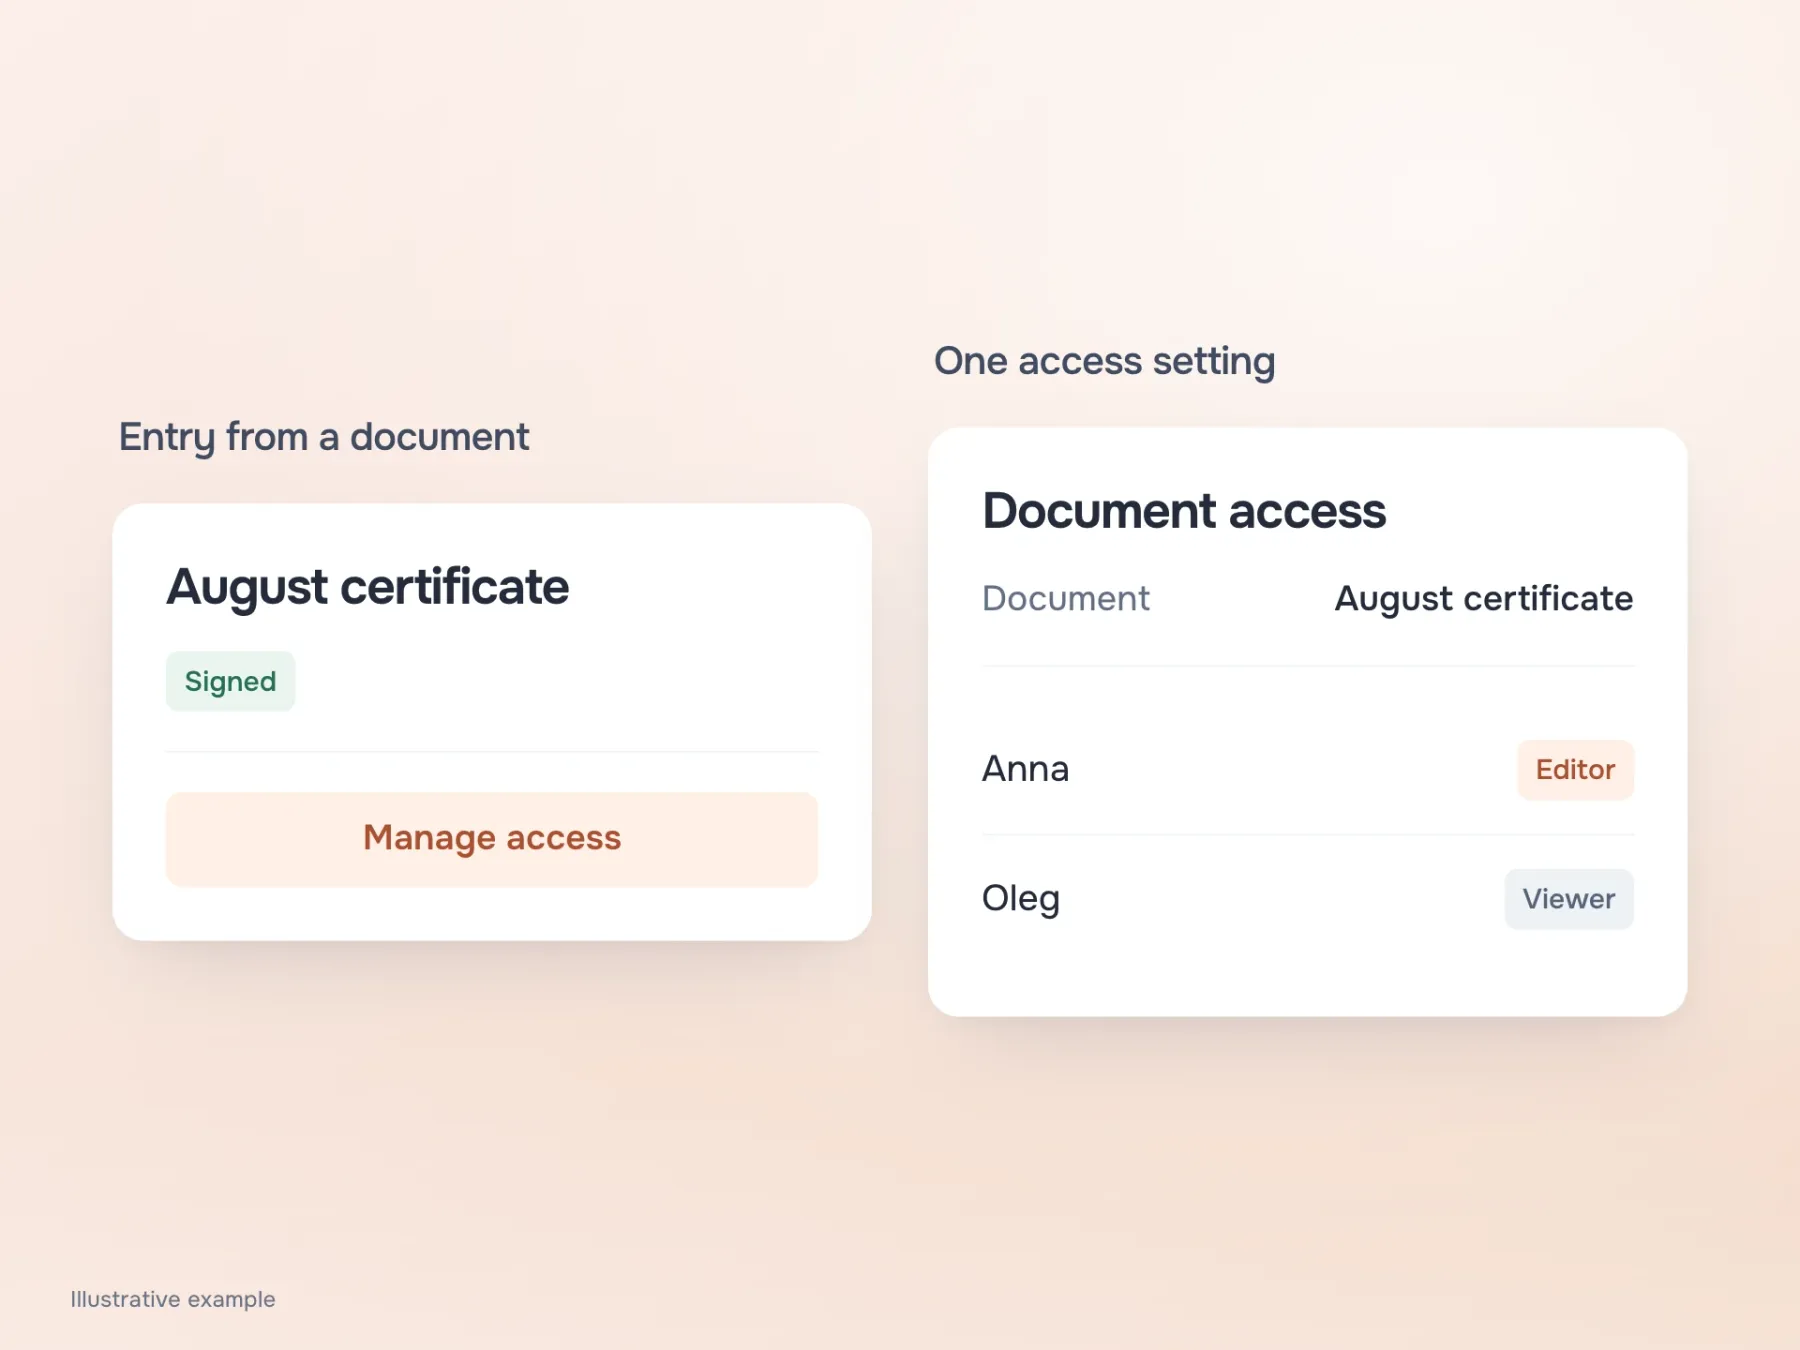
Document access is trickier. Someone may open a certificate and want to share it with a colleague. Or they may open the employee list, select a new member and decide which documents that person can see. Both routes make sense because the work starts from different objects.
There is no need to choose one entrance and forbid the other. Offer a route from the document and the employee’s card if both lead to the same permission setting. Problems begin when similar labels hide two independent settings and people no longer know which applies. Explore a disputed item through these journeys rather than immediately placing it in “Other”. A new folder in a menu does not explain why someone should go there.
Put colour and icons aside for a moment
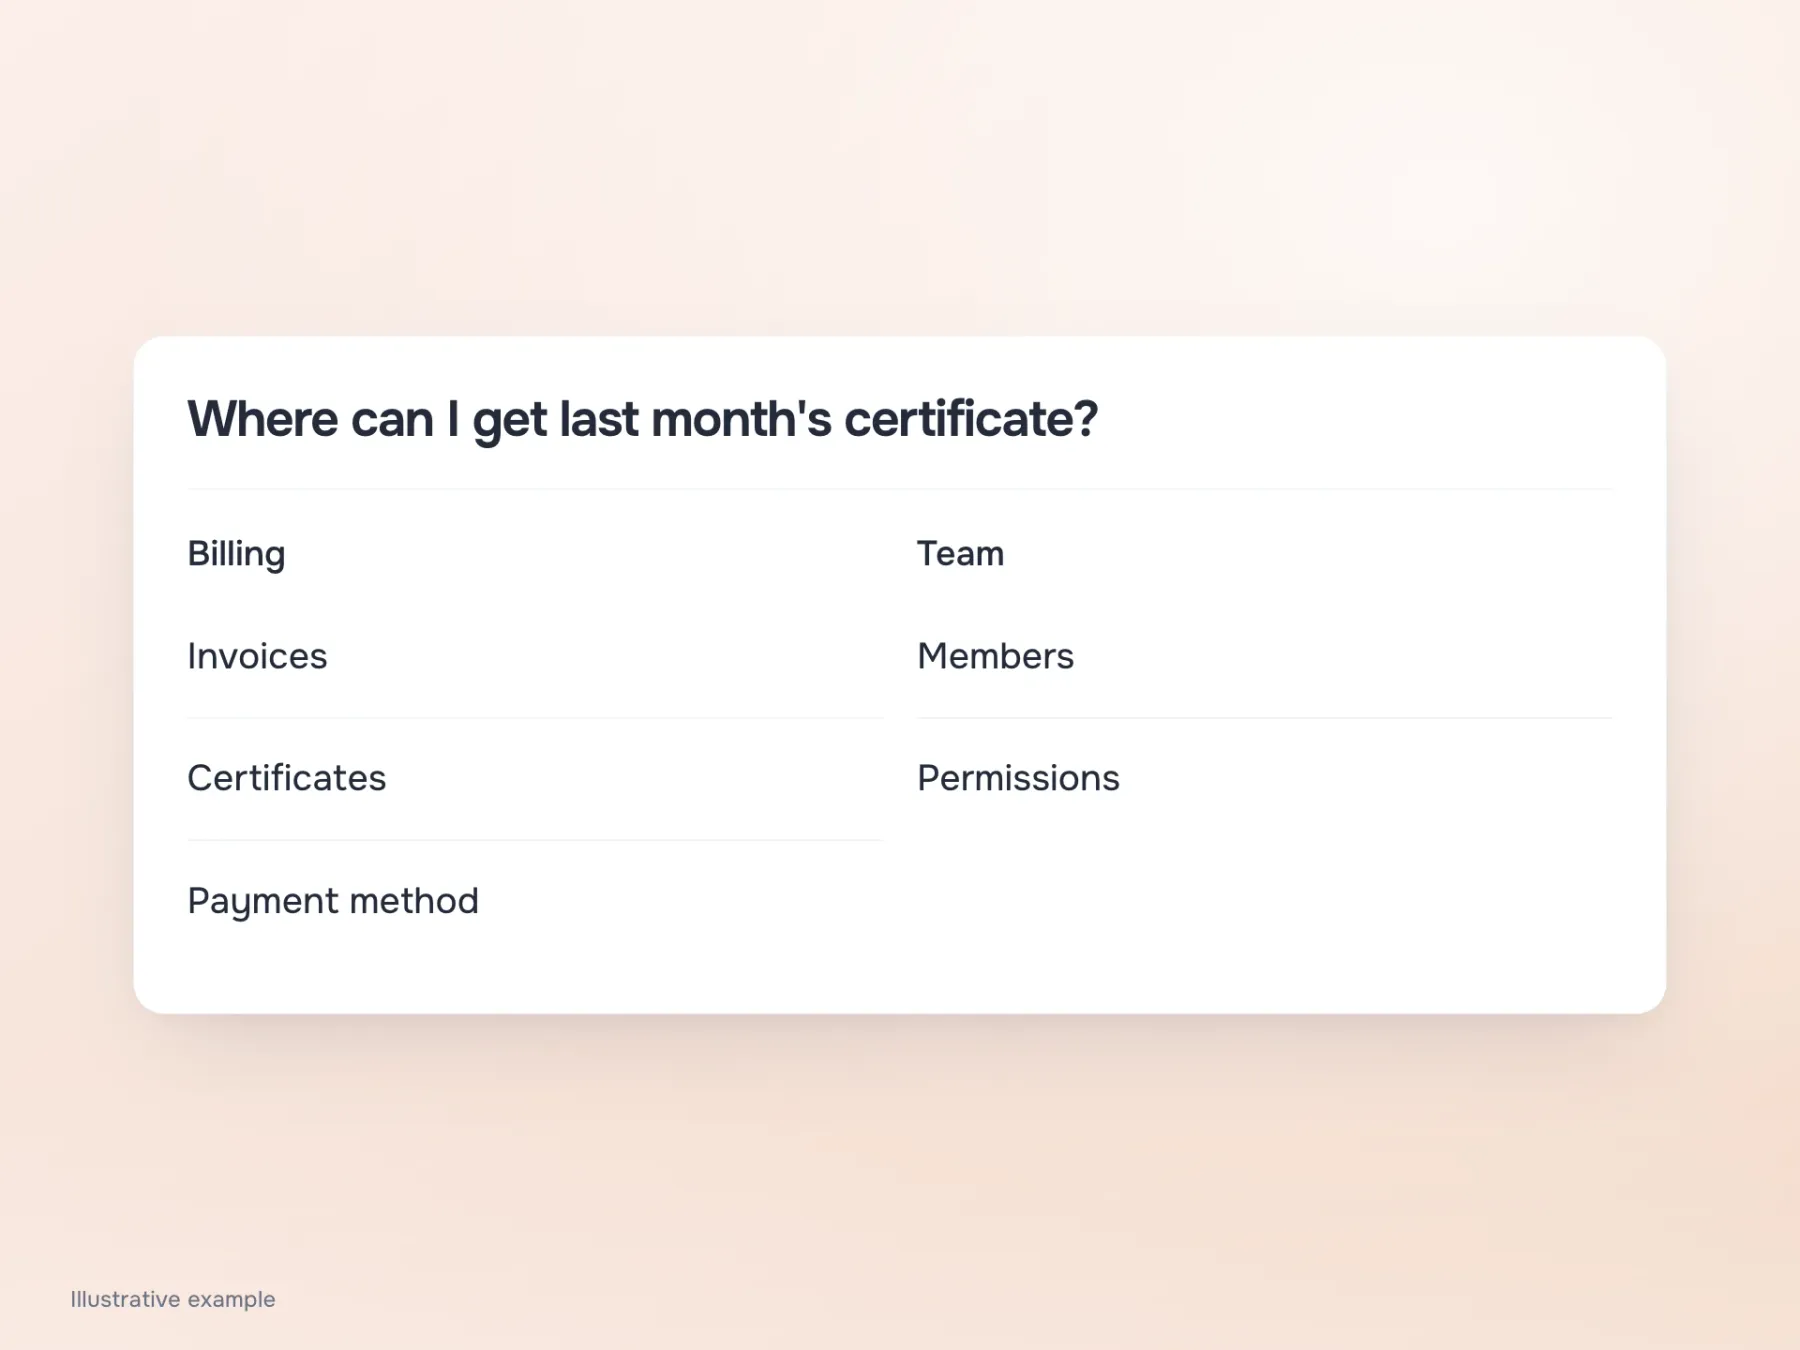
Once the groups are sketched out, show someone a simple tree of labels and give them a task: find last month’s certificate. No icons, highlighted cards or hints about the right answer. We want to see where they begin and when they feel the need to go back.
If they choose a different group, that reveals a difference between their expectation and our structure. Explaining why “Payments” was the right answer is too late: the menu’s author will not be beside them in the real workspace. Find out what they expected and check the names or relationships between sections. Repeat the task for different roles, because hiding unavailable items may make the previous grouping lose its meaning.
Follow the route to the required document
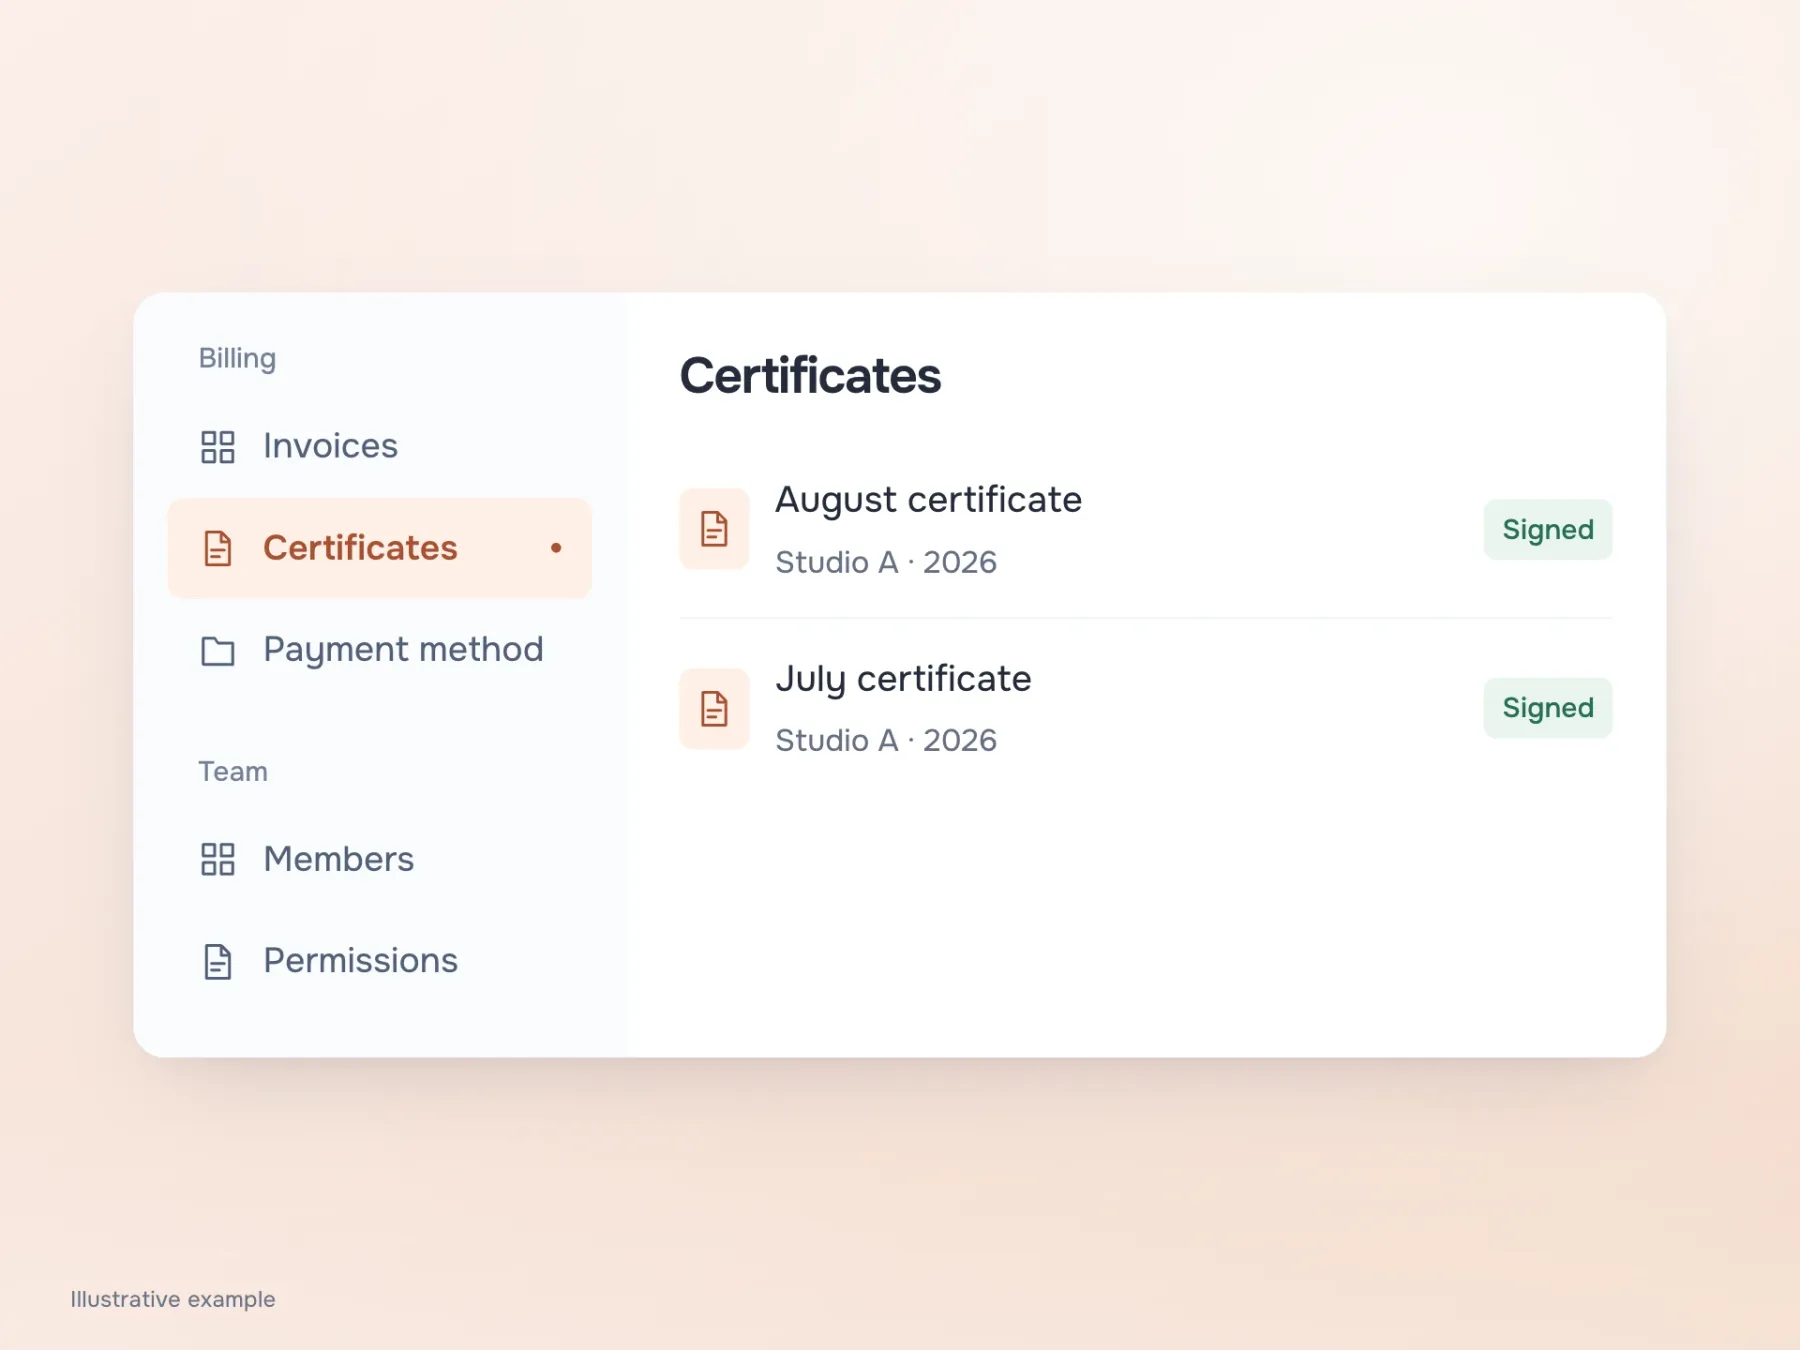
Once the labels are clearer, return to spacing and presentation. They will make groups easier to distinguish, but each section still needs to fulfil the menu’s promise. Testing does not end when someone chooses “Completion certificates”: open it and check that the right period is identifiable and the document can be obtained.
In our example, the person came for an August certificate. They chose “Payments”, opened “Completion certificates”, found August and downloaded the file. The whole sequence makes sense without knowing the company’s internal structure. Preserve that sequence through future menu changes, when new sections appear and it becomes tempting again to arrange them by the teams responsible for them.